There are three languages of code that you can add to your HTML to tell search engines what exactly is on your webpage: JSON-LD, microdata, and RDFa.
JSON-LD (Javascript Object Notation for Linked Objects)
JSON-LD is a script added as a data block, separate from the rest of a page’s code. Google recommends using JSON-LD “whenever possible” because JSON-LD data blocks are easier to organize and change or edit, when necessary.
Here’s what it looks like:
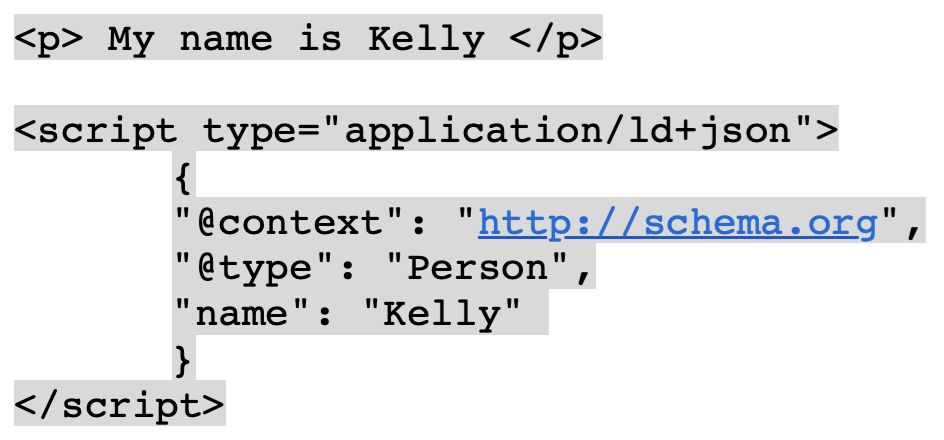
In this example, the webpage code, <p> My name is Kelly </p>, is completely separate from the JSON-LD script below it.
Microdata
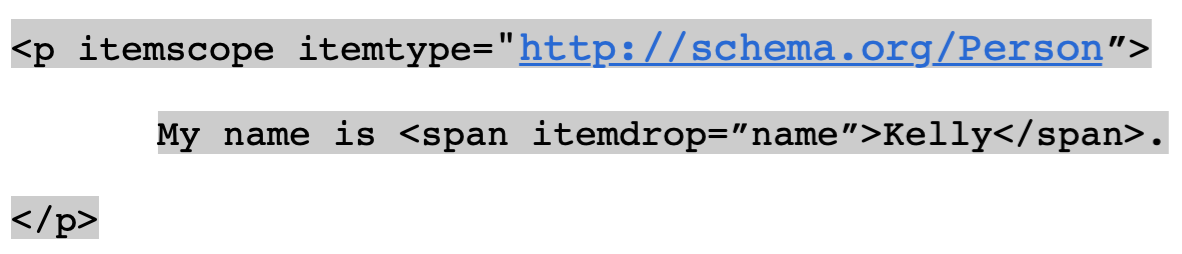
Microdata essentially does the same thing as JSON-LD but is formatted differently. The code needs to be embedded into a webpage’s HTML, which means it’s less beginner-friendly to write and update.
It’s also more difficult to use at scale for larger websites (like ecommerce sites).
Here’s an example of microdata in action:
RDFa (Resource Descriptive Framework in Attributes)
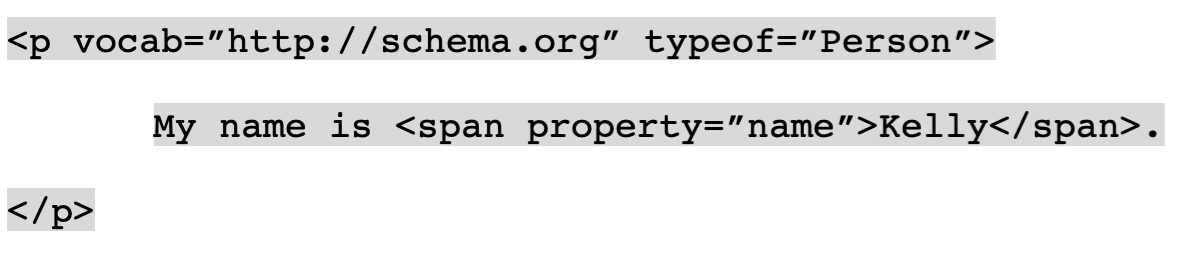
RDFa is similar to microdata in that you add it to your page’s code through HTML tags and attributes. However, it’s a bit older and more complex.
The benefit is that it can be easier to integrate it with other apps or platforms that also use it.
In practice, it looks like this:
- Go to Google’s Structured Data Markup Helper tool and select a data type
- Paste your URL
- Start marking up your page
- Generate HTML
- Add the markup to your site
- Test your structured data
Let’s look at these steps in more detail.
Step 1: Select a Data Type
Choose one of the common data types from the given list. For this example, we chose “Articles.”
Step 2: Paste Your URL
Paste the URL of the page you want to add markup to. You also have the option to paste the HTML. Then, click “Start Tagging.”
The tool will load your page so you can start marking it up. Your webpage will appear on the left side and the data items will appear on the right. Like this:
Step 3: Start Marking Up Your Page
To begin, highlight the selection on the left you’d like to mark up. For an article, you can highlight the author and choose the “Author” data item from the menu that pops up.
The tool will take the author’s name and place it next to “Author” on the right-hand side.
You can also tag items that can’t be found on your page. On the right side of your page, scroll down until you see the “Add missing tags” button.
Click on the button to open a pop-up menu where you can manually add tags. For example, we manually added data to the URL tag.
Continue adding markup items until you’re ready to generate your HTML.
Step 4: Generate HTML
When you’re done, click the “Create HTML” button on the top right of the screen.
You’ll receive the code to add to your site. Click the drop-down at the top to choose between JSON-LD (recommended) and microdata.
Step 5: Add the Markup to Your Site
Now that you have your updated code, add it to your CMS (content management system).
You have the option to copy and paste, or you can download the entire HTML file and upload it to your site.
When you’re done, update the page you’re working on. Hit the “Finish” button to get a list of instructions if you’re not sure how to complete the next steps.
Now it’s time to test the markup you added to your page.
Step 6: Test Your Structured Data
Google recommends using their Rich Results Test tool to test your schema markup: